How to Find Location from a Photo: 5 Proven Methods Work in 2026
Why Finding a Photo Location Matters
Every day, millions of people need to know how to find location from a photo. Travel bloggers verify the destinations they promote. Journalists confirm where a news image was taken. Online daters want to confirm that the person they are talking to is really where they claim to be. Even genealogists piece together family history by matching old vacation snapshots to real streets.
Until recently, photo geolocation was a slow, manual process: search for clues, cross-reference Google Maps, ping the photographer, and hope for the best. In 2026, modern AI tools can pinpoint a photo location in seconds, often down to the building or street corner. Whether you want to how to find location from a photo for personal curiosity, fact-checking, or professional investigation, this guide walks you through five reliable methods, ranked from fastest to most thorough, so you can pick the right approach for any photo.
Method 1: Use an AI Photo Location Finder (Fastest)
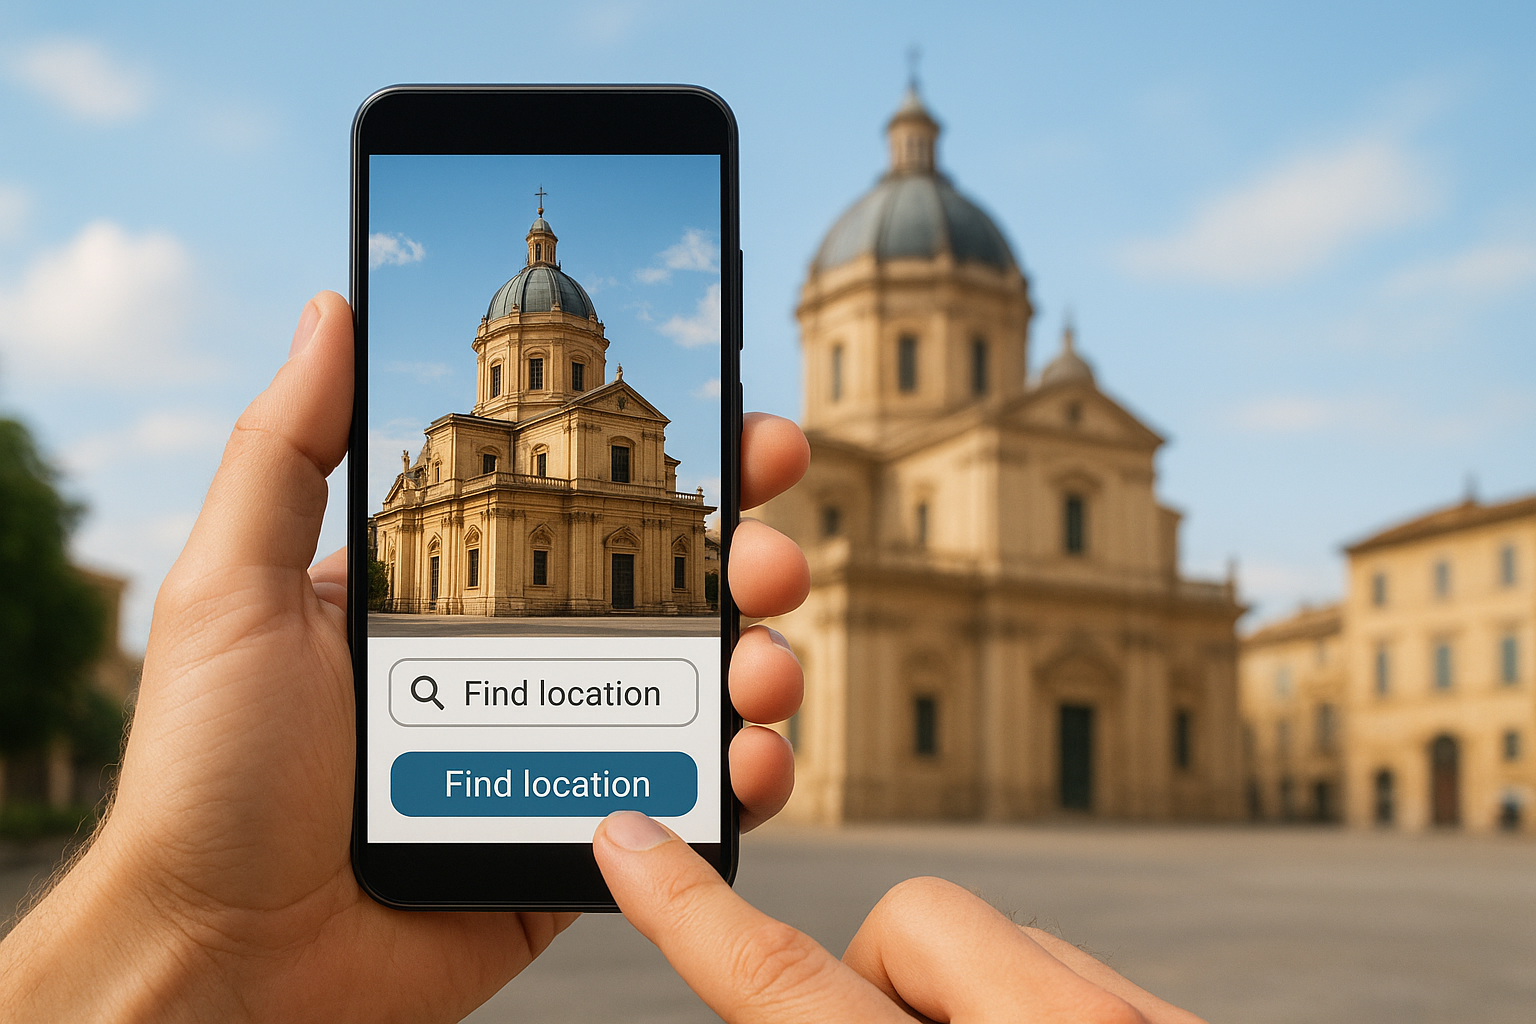
If you want to find location from a photo in the shortest time possible, an AI photo location finder is the best starting point. These tools are trained on hundreds of millions of geo-tagged images and can read subtle visual cues — license plates, storefront languages, plant species, architectural style, sun angle, even pavement patterns — to estimate the location.
Step-by-step: how to find a location from a photo with AI
- Go to GeoSpy.tech in any modern browser.
- Click the upload area and select the photo, or drag-and-drop the image file.
- Wait a few seconds while the AI model analyzes landmarks, text, scenery, and metadata.
- Review the predicted country, region, city, and confidence score.
- Open the suggested map view to confirm the exact spot, or refine the result by uploading additional photos from the same set.
GeoSpy.tech is free, requires no sign-up, and works on both desktop and mobile. For casual users, this single method is enough to find the location of a photo in over 90% of cases. For professional investigators, GeoSpy acts as a fast first pass before deeper manual research.
Try It Free — No Sign-up Required
Upload any photo and let GeoSpy's AI identify where it was taken in seconds.
Method 2: Check the Photo's EXIF Metadata
EXIF (Exchangeable Image File Format) metadata is hidden information that cameras and phones embed in every photo. It can include the camera model, shutter speed, and — most usefully for geolocation — the GPS coordinates of where the picture was taken.
To find the location of a photo from a photo via EXIF, you have two options:
Option A: Use your operating system
- Windows: Right-click the image, choose Properties → Details → look for GPS.
- macOS: Open the image in Preview, then Tools → Show Inspector → GPS tab.
- iPhone / Android: Open the photo in your gallery app and tap the info (i) icon — coordinates are listed if available.
Option B: Use an online EXIF viewer
Sites like exifdata.com, exiftool.org, or jimpl.com let you upload an image and instantly see all embedded metadata. If GPS data is present, the tool will show decimal latitude and longitude you can paste into Google Maps.
Important caveat: Most social platforms strip EXIF data on upload. If the photo came from Instagram, Twitter, Facebook, WhatsApp, or TikTok, EXIF will almost always be empty. In that case, jump to Method 1, 3, or 4.
Method 3: Google Lens & Reverse Image Search
Reverse image search engines index billions of public images and let you find visually identical or near-identical copies. When a photo has been published on a website, blog, or news article, this is often the fastest way to find a location from a photo — because the original page usually mentions the place.
Best reverse image search tools in 2026
- Google Lens — best general-purpose option, available at
lens.googleor through the Google app. - Yandex Images — superior for faces, landmarks, and Eastern European or Russian content.
- TinEye — best for tracking where a specific image has appeared online.
- Bing Visual Search — good complement to Google Lens, especially for products and storefronts.
For best results, crop the photo to focus on any sign, building, or distinctive feature, then run the search. If a clear match appears, click Pages that include matching images to see the source websites — the surrounding text almost always names the location.
Method 4: Search for Social Media Clues
Even when AI and reverse image search fail, the photo itself often contains human-readable clues. Train yourself to look for:
- Usernames or handles on clothing, bags, or signs.
- Captions and hashtags on the original post (search the first 5-10 words of any visible text).
- License plates reveal the country, and sometimes the region or city.
- Storefronts and signage — language, alphabet, brand names.
- Vegetation and architecture narrow the climate and culture.
- Sun position and shadow length can pin down the time of day and approximate latitude.
- License plates, electrical outlets, and driving side instantly tell you the country.
Cross-reference these clues in Google with site:reddit.com, site:twitter.com, or site:flickr.com queries. Many "mystery photo" posts have already been solved on a forum somewhere.
Method 5: Crowdsource on Reddit & Geo Forums
When the first four methods fail, humans are still the most accurate geolocation experts. A dedicated community of geoguessr players, travelers, and armchair detectives can identify locations that fool even the best AI.
The most active communities for help to find a location from a photo:
- r/whereisthis (1.4M+ members) — general-purpose location identification.
- r/GoogleMaps — for photos clearly taken from Google Street View.
- r/geoguessr — for game-style location challenges.
- Facebook groups like GeoGuessr Community and Travel Photo Identification.
- Tom MacWright's Geoguessr community on Discord.
When posting, include the original (uncropped) photo, the approximate time or year, and any context you have. The clearer the image and the more context you share, the faster you'll get a confident answer — usually within minutes for popular destinations, and within a day for obscure locations.
Pro Tips for Hard-to-Trace Photos
Some photos are genuinely difficult. The following techniques push your success rate above 95% even for tricky images:
- Combine multiple photos. If the photographer shared a small album, run the AI tool on every image. Together they often narrow the location dramatically.
- Stitch the background. When only a slice of background is visible, rotate or mirror the image — sometimes a sideways sign becomes readable.
- Check the shadows. Shadow length and direction at a known time can pin down latitude within a few degrees.
- Look for power-line and utility-pole styles — they vary sharply by country and are rarely edited out of a photo.
- Use vegetation as a climate proxy. Cacti, palms, conifers, and deciduous trees narrow the latitude band quickly.
- Try archive.org's Wayback Machine if a website has changed since the photo was posted.
Frequently Asked Questions
Can you find the exact location of a photo?
How accurate is an AI photo location finder?
Is it legal to find someone's location from a photo?
How do I find where a screenshot was taken?
Can I take a picture of a place and find out where it is?
Ready to Find a Location from a Photo?
Drop any image into GeoSpy.tech and let the AI tell you where it was taken — free, instant, and no sign-up.